Choosing and Siting a Garden Shed: UK Planning Rules Explained
A shed looks like a simple purchase until the day it arrives on a pallet, and you find yourself standing in the garden working out where on earth it should go. Get the siting right and it will quietly serve you for twenty years. Get it wrong and you'll be fighting damp, dodging the door, and possibly dealing with a letter from the council. Before you order anything, it's worth understanding what you're allowed to build, where it should sit, and what needs to happen underneath it.
The Permitted Development Rules in Brief
Most garden sheds in England can be built under permitted development, which means no planning application is needed — provided you stay inside a set of limits. The shed must be single storey, sit within the curtilage of the house (the land belonging to it), and not stand forward of the principal elevation, which is the main front wall of the house. That last point catches people out on corner plots, where the front may not be the side you assumed.
Height matters too. Broadly, an outbuilding with a pitched roof can be up to 4 metres high, and one with any other roof up to 3 metres, with eaves no higher than 2.5 metres. If the shed sits within 2 metres of your boundary, the whole structure should generally stay under 2.5 metres.
There is also a coverage limit: outbuildings shouldn't take up more than half the land around the original house. Verandas, balconies and raised platforms sit outside these rights, and the building can't become a separate dwelling.
Permitted development rights are removed in certain situations — flats and maisonettes, listed buildings, conservation areas, and anywhere a local Article 4 direction applies. Scotland, Wales and Northern Ireland each work to their own rules. Treat all of this as a general guide rather than legal advice, and confirm your position with your local planning authority before you buy; a short email or phone call is usually enough.
Separately, check your deeds for restrictive covenants. These are private agreements and can restrict what you put up even where planning permission isn't required.
Siting It Well: Boundaries, Light and Access
The gap between shed and fence is not wasted space; it's working space. Around 60cm lets you paint, replace a panel or clear leaves without gymnastics, and it keeps air moving around the timber. If the shed is tall and close to a neighbour's seating area, a little distance buys a lot of goodwill.
Consider which way the windows face. Glazing that looks straight into a neighbour's kitchen will cause more friction than the shed itself. Position it for light without overlooking.
Ground conditions matter as much as dimensions. A hollow that fills with water in winter will rot a timber floor quickly, so avoid the lowest corner of the garden or lift the shed onto bearers so air circulates underneath. Before you dig, check what's below: drainage runs, water mains and buried cables are all common. A cable detector costs little and takes minutes to use.
Trees are the other factor. A shed beneath a sycamore collects leaves, algae and sticky sap, and roots can lift a slab over time. Move it clear of the canopy if you can.
Preparing the Base
A shed is only as good as what it stands on. Sticking doors, cracked panels and damp floors nearly always trace back to a base that settled or was never level.
Concrete slab
The most solid option, and the right choice for a large or heavy shed. It means excavating, laying and compacting hardcore, then pouring concrete over a membrane, with the finished slab sitting slightly above the surrounding soil.
Paving slabs or concrete pads
Quick and tidy for smaller sheds. Dig out, compact and level, then set slabs or pads along the bearers. The shed must be supported all along its base, not just at the corners.
Bearers or a plastic grid
Timber bearers on compacted hardcore, or a plastic grid filled with gravel, lifts the floor clear of wet ground and lets air move. Simple, effective and kind to timber.
Whichever you choose, aim for level, firm and free-draining. Airflow under the floor is your friend.
Size, Door Position and the Small Practicalities
Walk the route from your kitchen door to the shed with a wheelbarrow before you decide anything. If the door faces away from the house, you'll make that trip in the rain, in the dark, carrying things. Facing the door towards the house or the main path usually wins.
Check door width against what you'll actually store — a mower, bikes, bags of compost. A single door is fine for tools; if you'll be wheeling things in, double doors earn their keep.
Think about the inside, too: a bench under the window for light, shelving on the wall opposite the door, clear floor in the middle. Leave room to open the door fully and to stand comfortably at the bench.
If you want power or light, decide now. Laying a duct to the shed before the base goes down is far easier than retrofitting later, and any mains work needs a qualified electrician. A water butt fed from a downpipe is a cheap addition and saves a walk to the tap.
Choosing the Shed Itself
Timber remains the most popular choice and, with a little care, the longest lived. Pressure-treated timber resists rot far better than dip-treated, and it's usually worth the difference. Tongue-and-groove cladding is sturdier and more weathertight than overlap; overlap is cheaper and perfectly serviceable for a small tool store.
Metal sheds need little maintenance but can suffer condensation and look industrial. Plastic ones are rot-proof and light, though they can feel flimsy and fade over time. Whatever the material, ventilation at roof level and airflow beneath the floor matter more than the finish.
Glance at the roof covering as well. Thin felt has a short life; if the shed is going to last, a more durable covering from the outset is money well spent.
Before You Order: A Short Checklist
- Height, footprint and position checked against permitted development limits, or permission applied for.
- Deeds checked for restrictive covenants or leasehold conditions.
- Gaps to boundaries measured — enough for maintenance, within the height rule.
- Drains, cables and pipes identified under the proposed base.
- Base chosen to suit the shed's weight and the ground beneath it.
- Door position, access route and internal layout worked out.
- Any electrical supply planned before groundwork starts.
- Neighbours spoken to if the shed will be visible from their side.
Getting It Right First Time
A shed is a modest structure, but it rewards a bit of planning more than almost anything else you'll buy for the garden. Get the paperwork straight, choose a level, well-drained spot with room to work around it, and build a base that won't move. Do that, and the shed quietly does its job for years. Skip it, and you'll be re-laying slabs, replacing floors and wondering why the door never quite closes.
If anything about planning, covenants or electrics is unclear, ask before you buy rather than after the pallet lands on the drive. Local planning officers answer these questions all the time, and a short conversation now saves a great deal of difficulty later.
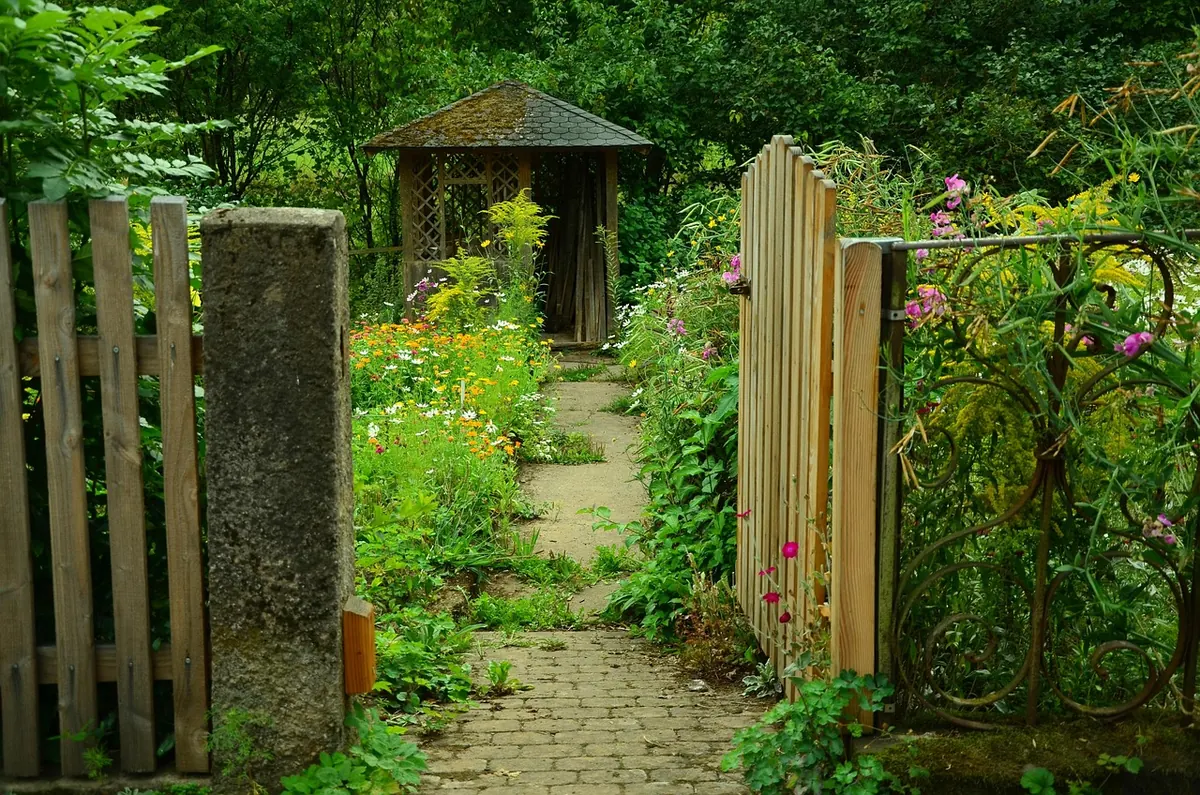
Photo: congerdesign / Pixabay